Installing Microsoft Office 365 ProPlus for Apple Macintosh

Question:
How do I download and install Microsoft Office 365 ProPlus on an Apple Macintosh?
Answer:
Please read before installing: If you have a working version of Office installed on your computer it is not necessary to install the latest version of Office 365 to your device. It is required to check to see if there are any other versions of Office installed and if so, please remove before installing Microsoft Office 365 ProPlus. Please keep in mind that once you have been out of attendance for greater than one (1) year, you are no longer eligible to receive access to the software provided by the University. At that time, you may start a subscription with Microsoft, reinstall your older version, or purchase a new version of Office. So make sure you have a copy of your older version and the product key before removing what is already installed. If you choose to re-enroll with the University, then you would again be eligible for the University provided software as an active student.

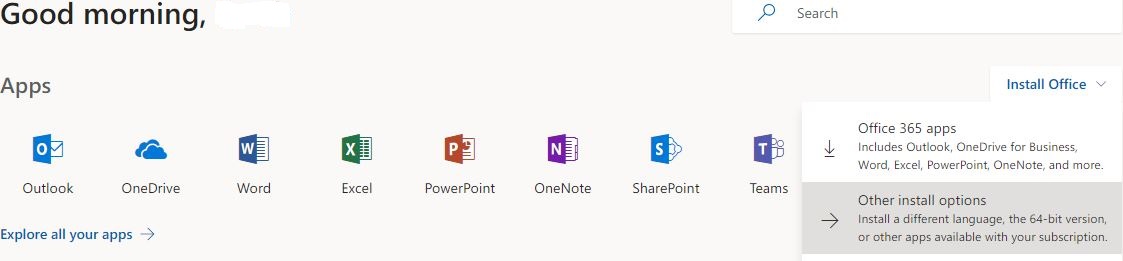
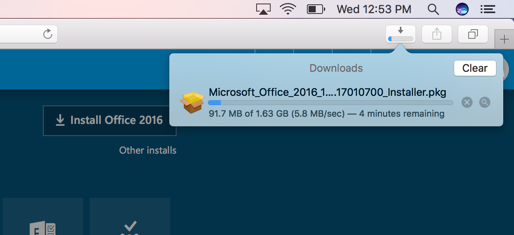
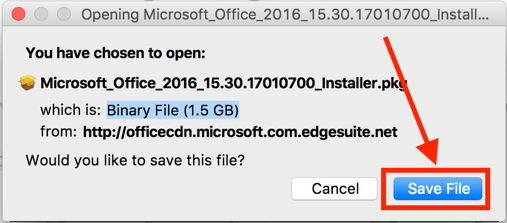
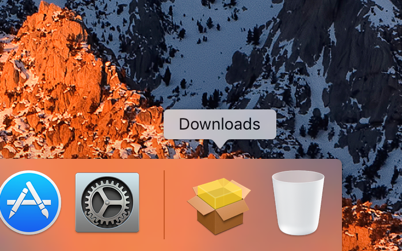
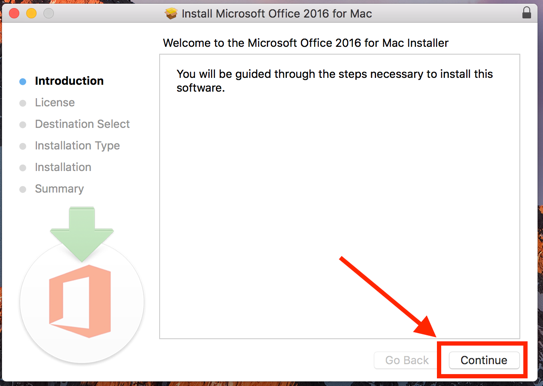
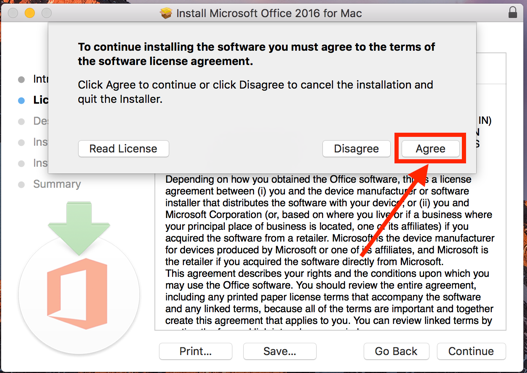
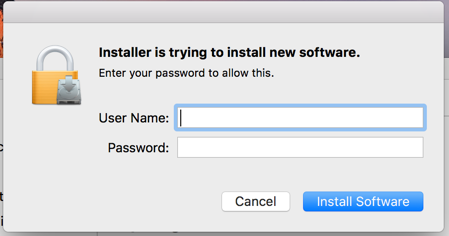
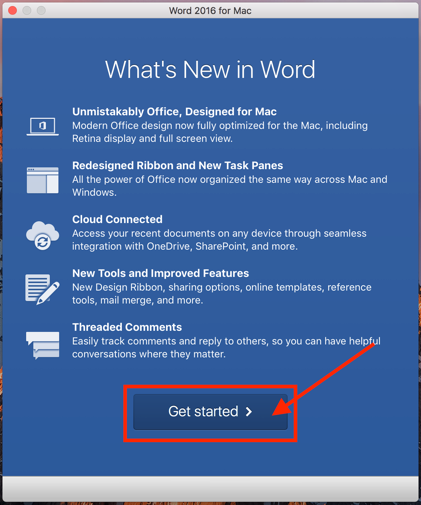
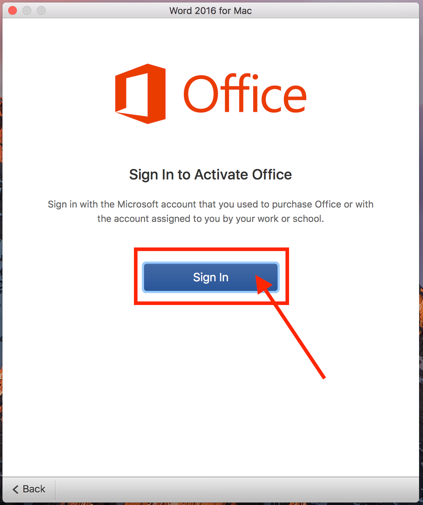
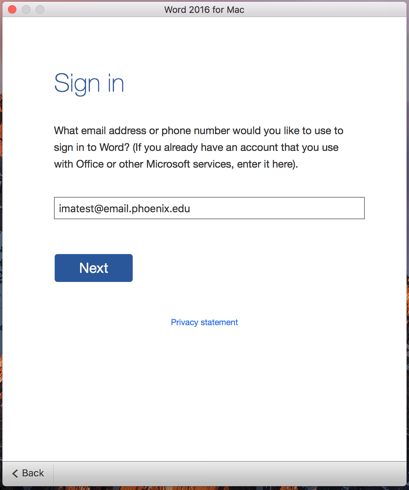
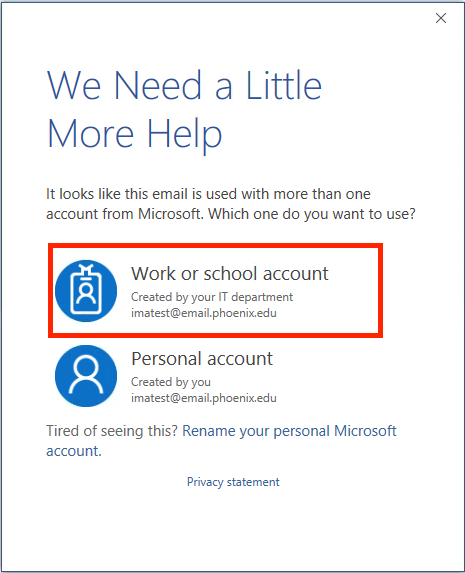
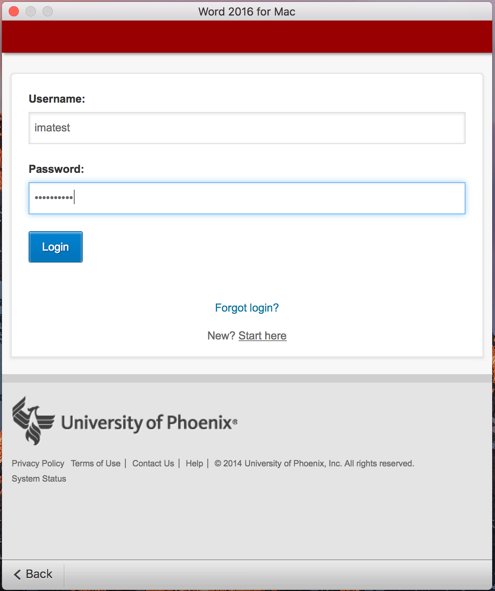
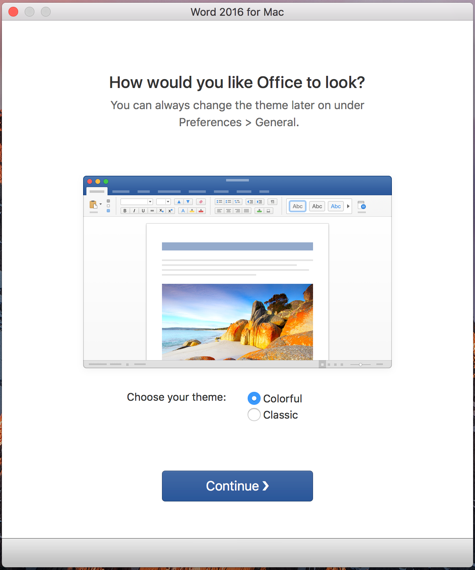
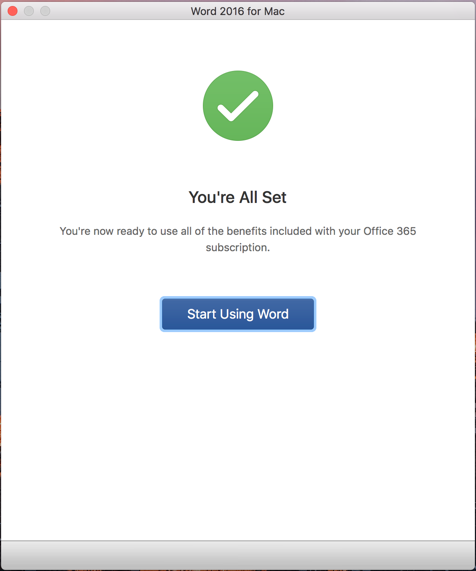
To install office on Mac OS versions 10.13 (High Sierra) and later, perform the following steps:

  1. Log into http://ecampus.phoenix.edu
  2. Click on the Office 365 Portal link from Quick Links on eCampus Home or navigate to:
    https://login.microsoftonline.com/login.srf?wreply=https%3A%2F%2Fportal.office.com&whr=email.phoenix.edu&wa=wsignin1.0
  3. If prompted, choose Yes or No to stay signed in
    User-added image
  4. Once on the Office 365 Dashboard, click on the Install Office button in the upper right corner of the screen.
    User-added image
    Note: Any open calendar or other tasks may obscure the Install Office button. It should become visible once those tasks are closed.
  5. Click Office 365 apps. Based on the browser you are using, you may see one of the following:
    Safari
    After the user clicks Install, the install file will automatically start downloading. You can see the progress in the upper right corner of the browser.
     
    User-added image
    Chrome
    Click the Setup file in the lower left hand corner of chrome

    User-added image
    Firefox
    Click the Save File button

    User-added image
  6. Go to the Downloads folder (usually on the right side of the dock) and click on the install package.
    User-added image
  7. Follow the prompts to install Office.
    User-added image
     
    User-added image
     
    User-added image
  8. Enter your Apple admin username and password for your Mac, then click Install Software. The rest of the installation is automated.
    User-added image
  9. Once installation has completed, go to Launchpad and open Microsoft Word  
    User-added image
     
    User-added image
  10. AGet Started window will appear. Click Get Started. A Sign in window will then appear. Click Sign In.
    User-added image
    User-added image
  11. Enter your school email in the next window, this should be your school username followed by “@email.phoenix.edu”
    User-added image
  12. If you see a window asking We Need a Little More Help – be sure to select the Work or school account option.
    User-added image
  13. Enter your School Username and Password in the Login Window that appears
    User-added image
  14. Choose your color option and click Continue, then Click Start Using Word
    User-added image
    User-added image
  
Additional Information:
For additional information on Microsoft Office 365 ProPlus, please see the Related Articles section to the right.
We welcome and appreciate your feedback!
Privacy Policy | Website Terms and Conditions | University of Phoenix Trademark Usage

Copyright © 2018 University of Phoenix

Share
Subscribe
Enter your email address to receive a notification when the article is updated
Email Address
Subscribe
Unsubscribe
Share
To
Subject
Message
Send

Was this article helpful
Thank you for your feedback
How can we improve?